................

Hey there! We are Tim and Mary from 17 Apart
— our little corner of the blog world where we love to share the things
that make us tick, diy projects, recipes, the antics of our 2 year old
weimaraner puppy, and a few surprises from time to time. We hope you’ll
stop by and join our adventure.
tim & mary of 17 apart


................
about the sustainable scraps series: In
our constant quest to live and eat in a more sustainable fashion, we
have become big fans of learning to grow many different types of foods
organically. After moving from a home with a big yard and lots of ground
space for our garden, we then moved into a house in the heart of the
city (Hey there, fellow Richmonders!) with no yard. Since then, we’ve
been forced to think creatively to find vertical solutions in order to
grow the same vegetables we once grew in the ground — and now find
ourselves with a thriving container garden.
Through
this creative gardening challenge, we’ve come across several other ways
to grow vegetables both indoors and out right from the scraps of their
previous counterparts. We’ve learned how resilient plants can be and
we’re really amazed at how all they want to do is thrive to grow. Over
the next few weeks we’ll be sharing examples of the vegetables we’ve
been able to successfully re-grow into new food and beautiful
houseplants.
visit
&
&
today: {part 3} : regrowing sweet potatoes
................
How to Grow Sweet Potatoes Anywhere
Did
you know you can grow sweet potatoes virtually anywhere with a few key
ingredients? It’s true — whether you have a big backyard or a tiny fire
escape, you can take on this growing project! It’s a great learning
process to try with your kids, and can yield a bountiful crop should you
want to grow them for food or simple have as a beautiful vined house
plant to keep along your windowsill just for looks. Today we’re going to
show you how to get them started and lay out the steps we’ve taken in
order to plant our own first backyard container crop of sweet potatoes.
After picking up 3 large sweet potatoes one weekend to make more of our own sweet potato dog chews, we decided to see if we couldn't try to grow some of our own.
After picking up 3 large sweet potatoes one weekend to make more of our own sweet potato dog chews, we decided to see if we couldn't try to grow some of our own.
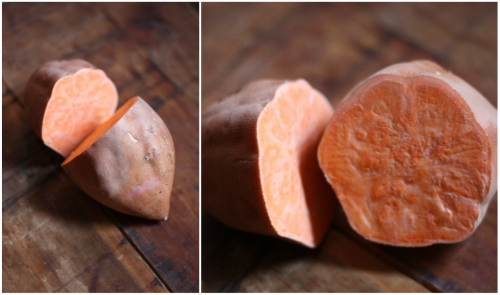
To get potatoes started, it's not quite as simple as planting a seed. Begin by cutting the potato in half, inserting 3 toothpicks midway into one half of the sweet potato and rest it in a shallow vase of water.

With
the cut portion of the potato resting in water and the upper half
exposed to the air in a sunny window, roots will begin to grow from the
bottom and stem sprouts from the top. Multiple shoots can sprout from
the top, all of which could become their own potato plant.
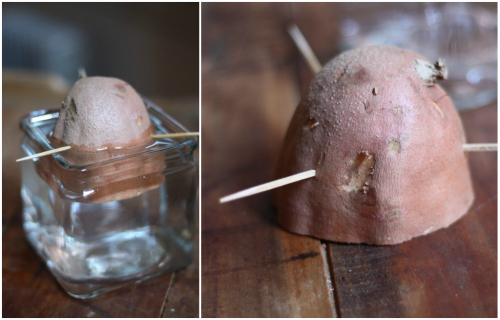
After a few weeks of growing time in your sunny window, the sweet potato should sprout both roots and stems (called slips) similar to below:

Continue to water the potato base and let your slip sprouts grow.

Once the slips reach about 5 inches long, twist them off from the base and set them stem side down in a shallow bowl of water to promote root growth directly from these slip vines:


Within
as soon as 24 hours, you’ll begin to notice little white roots growing
all around the lower portion of your sweet potato slips. What surprised
us most was how they shot out from all over the stems of the slips
instead of down through the bottom where we'd twisted them off the
mother sweet potato.

We
let the new root growth get about 1 inch long in the water dish (about 1
week) and then took them on outside to plant. You can plant them
directly into the ground or choose a container system that works for
you.
As for how we planted them — we had to go with an above ground container system since we don't have enough ground space to contain the potatoes or vines. We decided to use one of our large burlap coffee sacks we'd gotten from Blanchard's Coffee, our local source for roasted beans here in RVA, and got to it
As for how we planted them — we had to go with an above ground container system since we don't have enough ground space to contain the potatoes or vines. We decided to use one of our large burlap coffee sacks we'd gotten from Blanchard's Coffee, our local source for roasted beans here in RVA, and got to it
.
We
filled up the base of the bag with a mixture of loose dirt and organic
potting soil — sweet potatoes prefer very loose soil or ground as
opposed to packed in dirt. Once we filled the bag about 1/3 full we
rolled down the sides of the sack to just above the dirt and planted
both root slips directly into the soil.
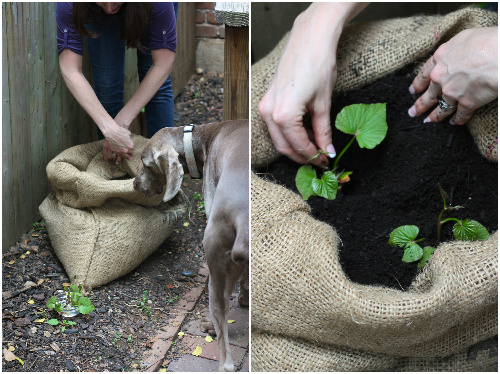
We
placed the rooted stems into the dirt and loosely packed soil to the
tops of the remaining leaves. As the slips grow into longer vines, we
can easily roll up the sides of the sack and fill in more dirt if need
be. Btw, that's our supervisor performing quality control up there :)
Since we planted our first slips, the roots have taken hold and they continue to slowly thrive. Here’s a shot of what they look like today:
Since we planted our first slips, the roots have taken hold and they continue to slowly thrive. Here’s a shot of what they look like today:

Indoors, we’ve also continued to sprout the original sweet potato base with new slips. As you can see below, one of them has taken off into a full fledged vine. We like the idea of nurturing it as a houseplant but may decide at some point to transfer over to its own bag of soil.

Sweet
potatoes take a really long time to grow, but we're excited to see if
we are able to do it. We hear the actual potatoes don't really start
forming until their beautiful purple flowers begin to bud, which could
be as long as August. We should be able to harvest these sweet potatoes
in early September and also hear the longer you leave them in before the
first frost, the larger they will grow. Oh, and by harvest, I mean turn this potato sack over and dump out multiple pounds worth of sweet potatoes!
Should be an interesting adventure from here on out! Keep up with the ongoing progress of our sweet potato growing project here and we’d love to know in the comments section of this post if you plan to try it yourself!
Should be an interesting adventure from here on out! Keep up with the ongoing progress of our sweet potato growing project here and we’d love to know in the comments section of this post if you plan to try it yourself!
................
thanks ever-so-much, tim & mary!
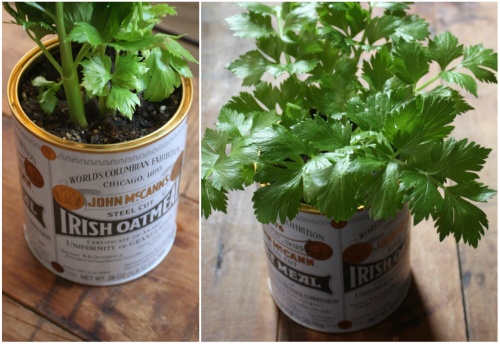
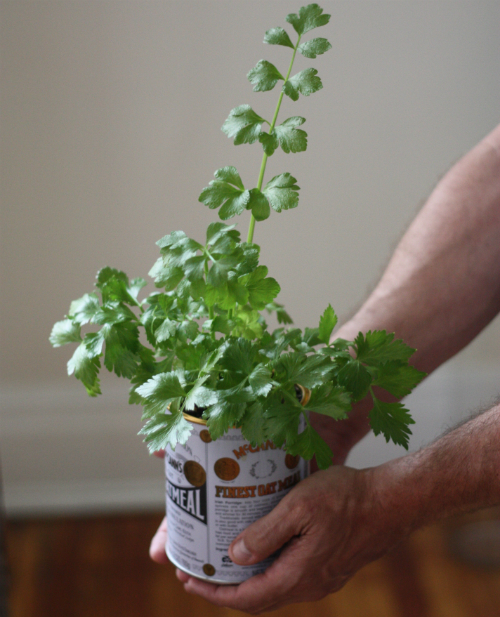
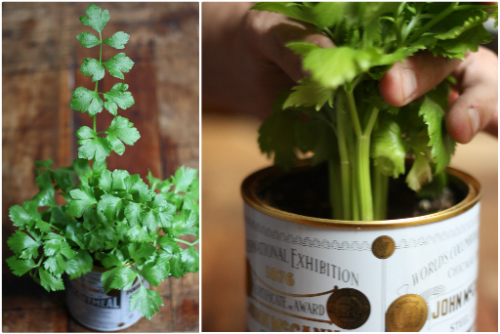
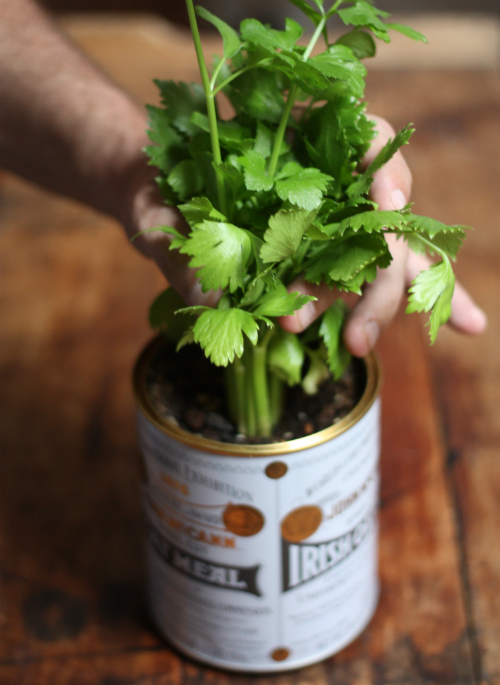
thrilled at how very much all of you nicies ADORED their 1st fabulous post on regrowing celery & the 2nd wonderful post on regrowing green onions!
so delighted to have you nicies on
the blog (we're all such fans of your fabulous DIY & handcrafted
lives.) peek at tim & mary's beautiful new home, their gorgeous doggie Basil, & an abundance of mouth-watering recipes as a wee little intro to these inspiring handmaking superstars.
& be sure to tune in soon for the next installment of the 17 apart series:
sustainable scraps!
what are you growing these days, nicies?
we'd love to hear!
Pin It








 Posts
Posts